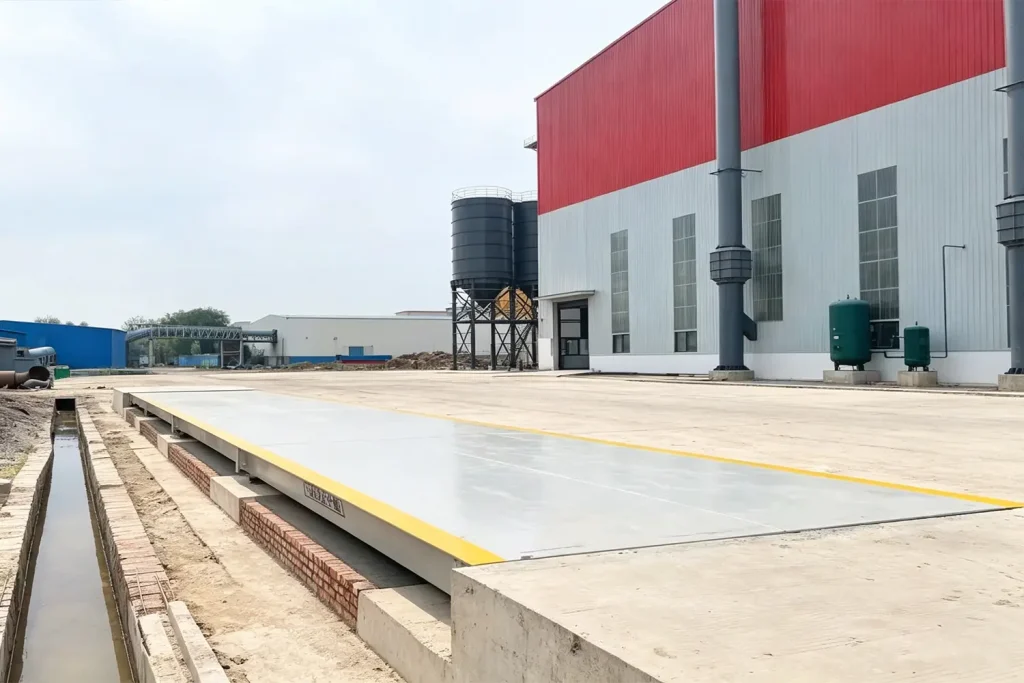
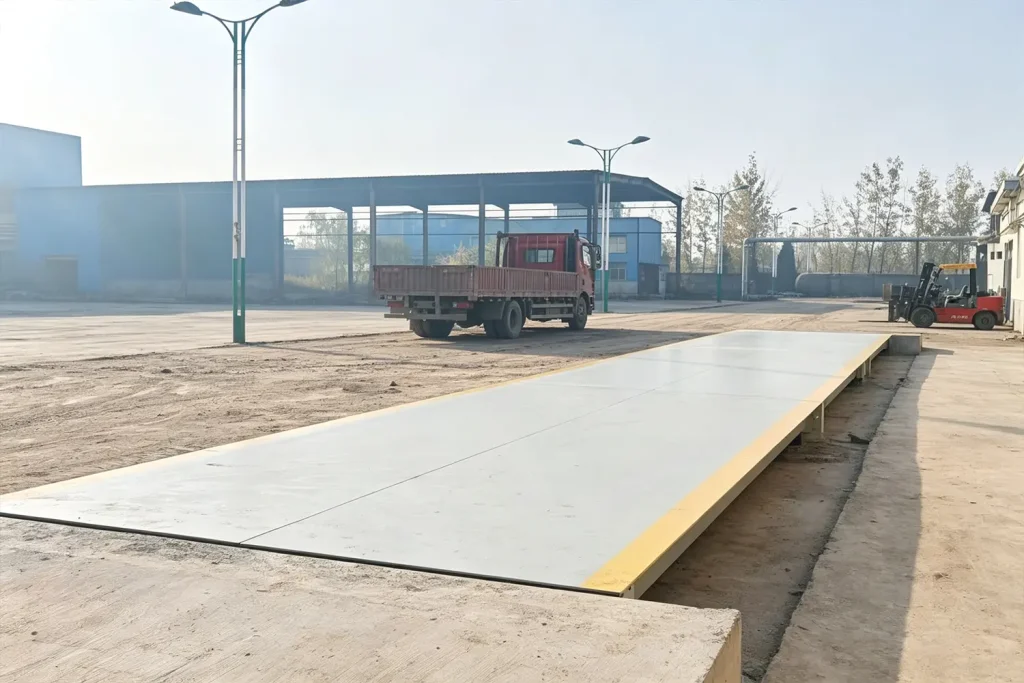
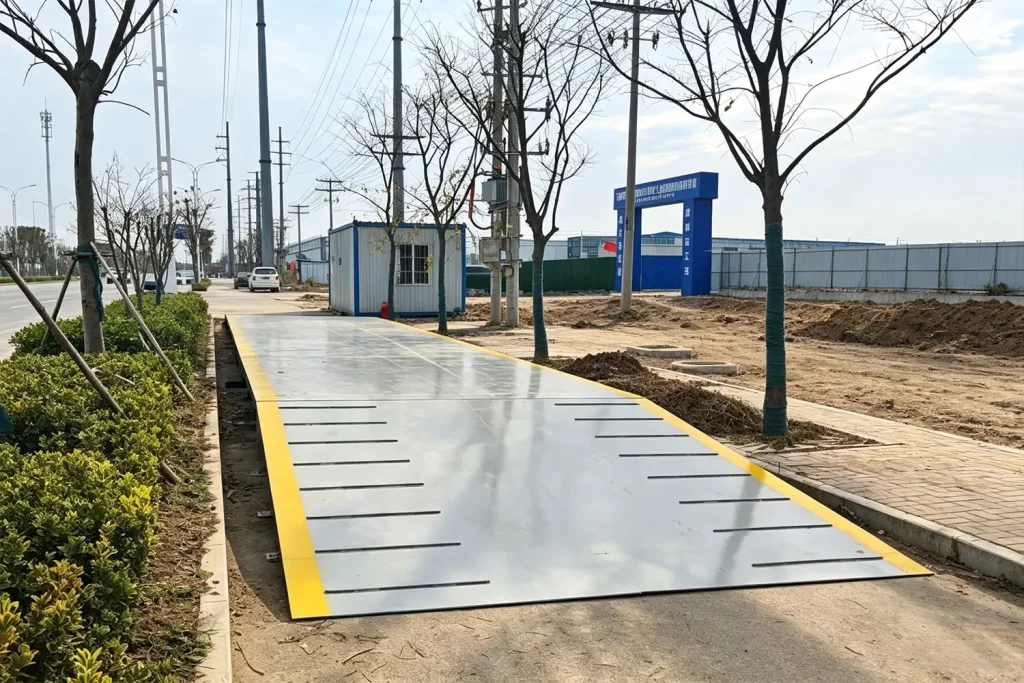
How to Do Weighbridge or Truck Scale Calibration: Step-by-Step
Knowing exactly how to do weighbridge or truck scale calibration is essential for maintaining legal-for-trade compliance and protecting your facility’s profit margins. If you are wondering how to determine calibration size on truck scales, this step-by-step guide breaks down the technical procedures required for accurate weight measurement. By understanding the calibration process, B2B facility managers can minimize operational downtime, prevent inventory shrinkage, and ensure their automated weighing systems deliver flawless data.
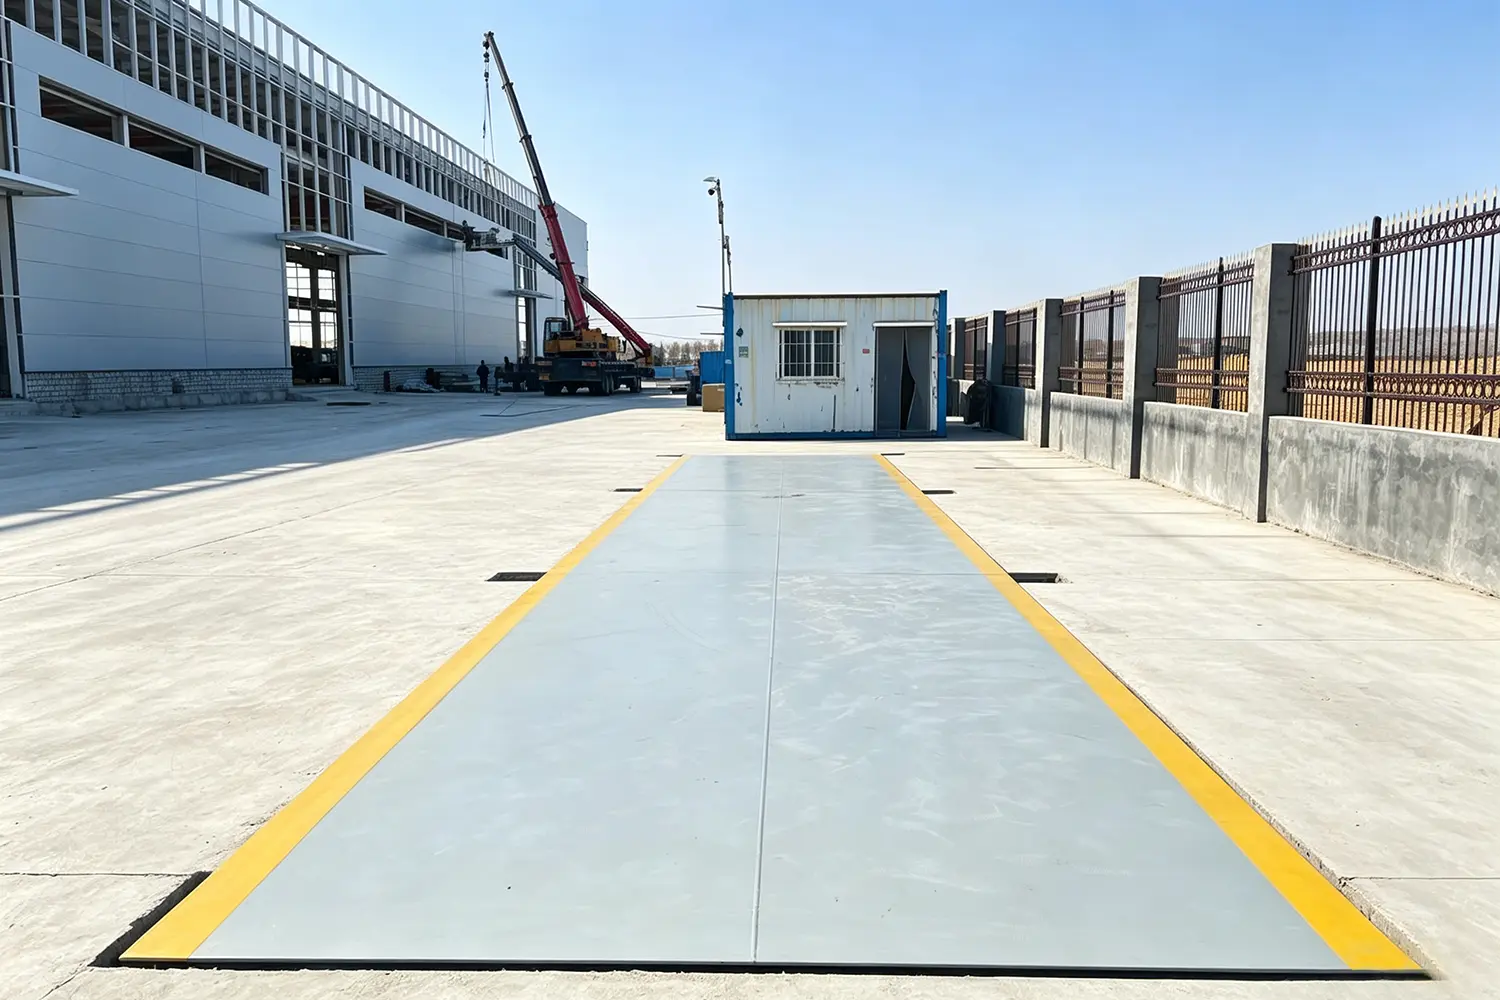
The Importance of Routine Scale Calibration
For procurement and operations directors, the weighbridge is the cash register of the facility. The primary pain point is “scale drift.” Over time, heavy impacts, temperature fluctuations, and mechanical wear cause load cells to lose their precision. If your scale is reading just 0.2% under the actual weight, you are giving away free product with every outbound truck. Routine calibration is the only way to stop this financial hemorrhaging and ensure your data matches reality.
How to Determine Calibration Size on Truck Scales
Before beginning the physical process, technicians must know how to determine calibration size on truck scales. This refers to the amount of certified test weights required to properly calibrate the system. Regulatory bodies (like NIST in the US or OIML internationally) typically require test weights equal to at least 10% to 12.5% of the scale’s maximum capacity. For a standard 80-ton commercial weighbridge, you will need a specialized test truck carrying at least 8,000 to 10,000 kg of certified cast-iron weights to perform a legal-for-trade calibration.
How to Do Weighbridge or Truck Scale Calibration: The Procedure
Understanding how to do weighbridge or truck scale calibration helps facility managers schedule maintenance efficiently. The “itch” is the required downtime, so knowing the steps ensures you can coordinate with your service provider to minimize disruptions.
Step 1: Pre-Calibration Inspection and Cleaning
Calibration cannot begin on a dirty scale. Technicians first inspect the weighbridge for structural damage, binding, or debris lodged under the deck. The scale must be thoroughly cleaned, and the junction box checked for moisture. Any mechanical interference will render the calibration useless.
Step 2: Zero Calibration and Corner Testing
Once clean, the digital indicator is set to zero. The technician then performs a “corner test” (or shift test). They place a concentrated load of test weights directly over each individual load cell. If one corner reads 10,000 kg and another reads 9,980 kg, the technician must adjust the potentiometers in the junction box (for analog systems) or adjust the software parameters (for digital systems) until all corners read identically.
Step 3: Span Calibration and Linearity Testing
After the corners are balanced, the technician performs the span calibration. They load the scale with increasing amounts of test weights (e.g., 25%, 50%, 75%, and 100% of the test load) to ensure the scale reads linearly across its entire range. Once the indicator matches the certified weights perfectly, the scale is sealed and certified.
Upgrading to Spire’s Smart Diagnostic Systems
The “sweet point” for modern facilities is reducing the frequency of emergency calibrations. While physical calibration is legally required annually, Spire’s Automated Unattended Weighing System (AVS) utilizes high-precision digital load cells and an Industrial PC (IPC) to continuously monitor scale health. If a specific load cell begins to drift, the Spire AVS alerts your maintenance team immediately, allowing you to address the issue before it impacts your billing. Contact Spire today to upgrade your weighbridge to a self-monitoring, automated powerhouse.
Request a Quote / Get Expert Assistance
Have questions about our heavy-duty truck scales or industrial weighing solutions? Fill out the form below to get a direct response from our engineering team.